I sat down and drew out on paper the two different square patterns and then pondered the possible quilting patterns. I was sure that on the modified log cabin block that it would be quilted in the ditch to show the log cabin portion. It was a puzzle as to how to quilt the "picture blocks". The larger blocks were pretty simple....stitch in the ditch to frame the picture. The smaller blocks required the thought. I was sure that I did not want to stitch each one. So the graph paper was very helpful to determine that I would outline the picture, make a diamond square, then created a design using diagonals across the outside round of 2" squares. I don't know if you can tell exactly in the plan sheet. I had drawn with pencil and design is in red. I then decided the "3inch-X's" in the sashing was easy enough, since the large blocks were 6inch.

Hopefully you will be able to see some of the quilting design in the pics below.


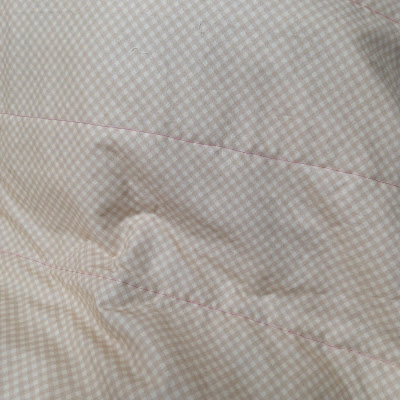
The back often show the quilt design better.....

Modified Log cabin

Large picture block

2"blocks/picture block
And the quilting continues as I try to reach the goal of delivery by the end of June.


Just followed your blog! Please come follow us back! Thanks.
ReplyDeletequackadoodlequilt.blogspot.com